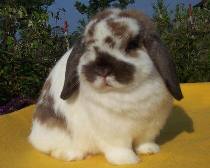
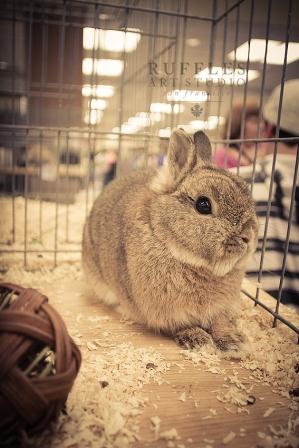
Poster Board Background for Stunning Photos!

Here’s how I set it up:
1. Half of the poster board is propped against the wall so that it makes it curve in the middle and then flatten out on the floor.
2. You set up whatever props (if you want to do props) on the floor of the poster board in whatever arranged order you want.
3. Set your bunny or whatever small animal you’re doing a shoot of in the center on the floor.
4. I had my sister hold the top so that it didn’t droop like it’s doing in this pic.. You can use tape, push pins or can have someone hold it up to avoid holes in the paper, or tearing it with tape.
It’s really fun once you get the hang of it, and if you don’t fully get the background in the picture, you can always crop it.
Taking Cute Bunny Photos For Your Website
When building your website, one of the most time-consuming, but most fun parts is taking pictures of your rabbits. Like everything else, you improve with practice over time, but you can get a head start by incorporating some of the following hints:
- Take time to groom the rabbit before photographing

- Only photograph rabbits in good fur and condition – add other rabbits later when they are in condition
- Take pictures outside for the best light and good detail in the picture
- Choose a bright, but overcast day – bright sunshine casts dark shadows
- Make sure the primary light source is behind you – not behind your rabbit
- Choose a location where your rabbit will be safe should he or she decide to leap from the table – trust me, it happens
- Select an attractive, but not distracting background
- Cover your grooming table or other surface with a piece of fleece material in a slightly mottled pattern
- Choose props carefully since cute props detract focus from the rabbit – choose cute prop-filled pictures for your home page, about us, and other non-rabbit pages – focus more on the rabbits for your bucks, does, juniors, and for sale pages
- GET DOWN ON THE RABBIT’S LEVEL – do not photograph from above
- If you have help, you can pose your rabbits while the other person photographs
- If you do not have help, give the rabbit plenty of time to explore and sniff around – once bored, he or she may pose beautifully on their own – a natural pose is usually more attractive anyway
- Take dozens of shots of the same rabbit – even minor differences in angle or expression can make a huge difference in how the picture turns out.

I think that the quality of the photographs on my website improved as I improved in my ability to pose rabbits and to recognize the appropriate pose. Holland lops, for example, should not have their back feet rammed up against their front feet. I see many pictures of Hollands on the web that look chopped, but I can’t tell whether that is natural or poor posing.
If you want your photographs to highlight your rabbits’ conformation, take pictures dead-on from the front and from the side while the rabbit is properly posed. That’s how you can see width between the eyes and front legs, top line, ear placement and so forth.
If you are looking for a pretty picture to decorate your page, then consider pictures at a 3/4 angle. Those are often the most attractive.
It is not necessary to post pictures of every rabbit in your rabbitry. Consider just publishing the best.
Decide how much ongoing updating you intend to do when deciding which rabbits to feature on your website. For example, if you want to post pictures of your juniors, you will need to update that at least every other month. If you want to update your website twice a year, you’d be better off just featuring your herd bucks and grand champions. If you want to update daily or weekly, then you have much more flexibility because you can change pictures as your herd changes.

Next Article: Reducing Odors in the Rabbitry
